Many smartphone owners want to have complete control over their mobile device by obtaining root rights (superuser privileges).
This is done even if the device is under the warranty service term, which will void the warranty.
To manage extended permissions, the application is usually used SuperSu, but sometimes it crashes, giving the error "SU file is busy".
Let's look at how to resolve the error and get rid of this warning in order to grant extended permissions to the required programs.
A bit of theory
The SU binary file itself grants those extended permissions, giving the user the ability to perform any operation on his device, up to modifying the majority system files.
Without this object file system you will not have root rights.
Even when the SU is not updated, SuperSU will provide the necessary privileges in most cases, but constant warnings and the possible presence of errors and gaps in the outdated SU can turn out to be a problem.
SuperSU and similar programs allow you to control the received capabilities, allowing other applications to work under the super administrator or prohibiting them.
So, let's figure out what to do when SuperSU or similar system applications offer to update a binary file.
The instructions are relevant for situations where a message appears with other problems regardingSU: busy or absent (not set).
The easiest way
For many users on many devices, the problem is solved very simply, with any knowledge or additional software not required.
The method consists in removing the current version of SuperSU and installing its previous version.
It is not known how the device will behave with the previous release of the application, because the program is periodically updated, but it was noticed that the transition to SuperSU v2.79 solves the problem.
You can get an old release of the utility by finding an archive of its versions on a forum or portal.
The second way
There are several ways to solve the problem. Let's start with the simplest things for a beginner.
It consists in using a Chinese (no need to be afraid) utility, through which many get those cherished extended powers to fully control their smartphone or tablet.
This is the Baidu Root program.
In the shop Google play market, it is absent, since it is a cracker, and careless and inept handling of the functionality can lead to problems, for example, you will need to reflash the device.
- Download the utility from a trusted source. Since the official site is not working at the moment, it can be downloaded from the w3bsit3-dns.com forum in the form apk file a.
- We launch it, accept the operating conditions and give all the required privileges, having previously enabled the installation of applications from untrusted sources in the settings of your smartphone.
- Next interface- a window with the model name of the device used and one more button ("Get Root"). We click on it, which will give superuser privileges, thereby updating the binary file, which is what we need.
- After the smartphone will reboot, Baidu Root will be launched and will require SuperSU extended powers. We provide them.
- Farther you will be prompted to update the binary. The left button prohibits updating, the right one allows. Click on the last one ("Continue" in the Russian version).
- Further it is necessary tap on the "Normal" button in the window with a proposal to use custom recovery, if available.
Now errors with the SU file, whether it is busy, not updated or missing, will disappear.
Command line for advanced users
There is also a less simple way to solve the problem, which is better to resort if the previous ones did not allow you to get rid of the error, for example, Baidu Root could not get root on your device.
1. Download the Terminal Emulator program and install it.
2. Download and install Root Browser (its role can be played by anyone file manager supporting root).
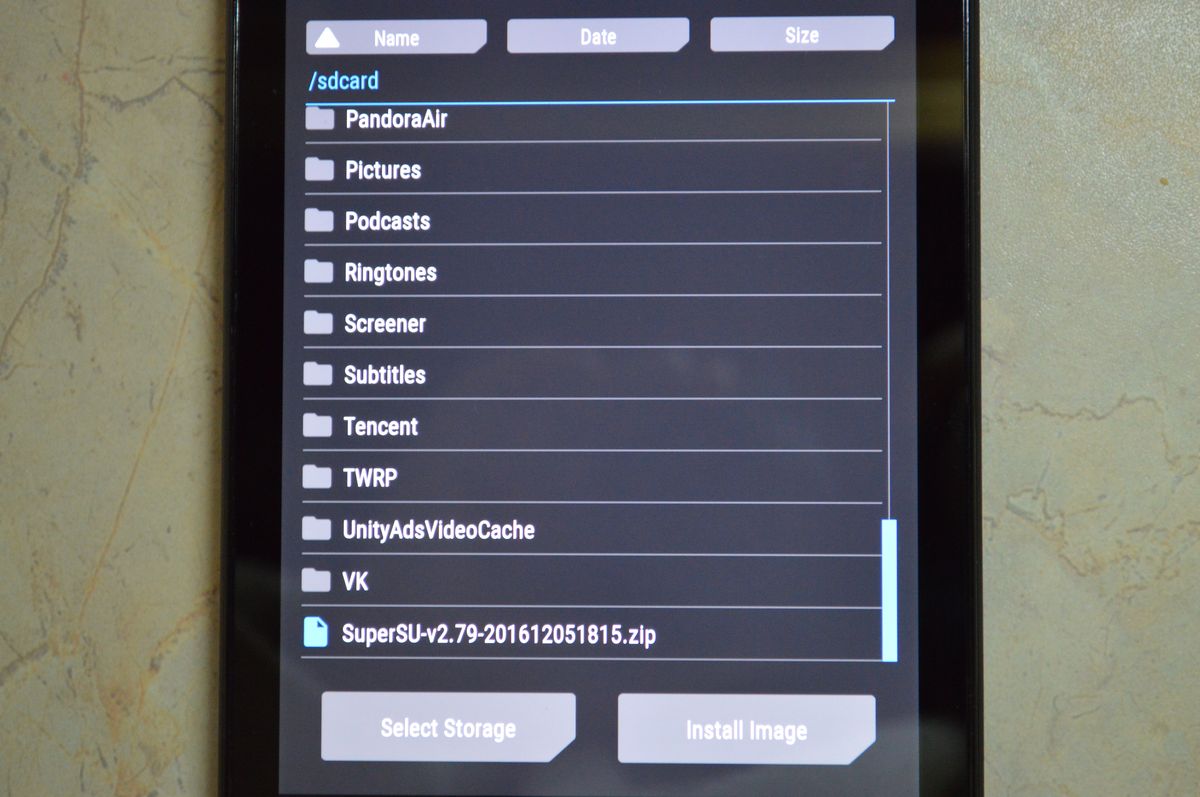
3. Download the zip and unzip its contents into the folder “ updatersu"At the root of the removable flash drive or memory mobile device(it is recommended to stay on the second option).
4. Open the file manager Root Browser or its analogue and copy the objects.has_su_daemon, .installed_su_daemon and install-recovery.sh from "updatersu" to the directory "/ system / etc".
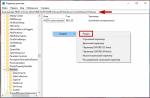
5. In order, open the properties of these files and set the following rights for them (see screenshot):
- .has_su_daemon- three check marks in the first column and the first in the second;
- .installed_su_daemon- mark the first checkboxes in columns one and two with flags;
- install-recovery.sh- check the boxes next to all the checkboxes in the first and third columns, as well as near the "Owner" item in the second.
6. Go to "/ system / bin", add a new directory called ".ext" and install the following rights for him:
- the first items of the first and second columns;
- mark the third column completely.
7. Open "/ system / xbin" and copy our SU from there to new folder that was created in the previous step "/system/bin/.ext".
8. Open the menu for renaming the document and add a period in front of its name, after which we set the privileges shown in the screenshot below for it.
9. Run the utility Terminal emulator.
10. In order, enter the following commands:
- mount -o rw, remount / system
- In –s /system/etc/install-recovery.sh /system/bin/install-recovery.sh
- / system / xbin / su -install
11. Now manually reboot the device, and after starting it, open SuperSU and try to update the SU file normally.
Root rights through Framaroot
Another way to achieve what you want is to re-obtain root rights through other applications.
Let's look at the example of Framaroot, in fact, there are a lot of similar utilities, including those that require pairing a smartphone / tablet with a computer.
There are several hundred devices on the list of supported devices, although in reality there are many more.
If you don't find yours, it's worth trying.
- First of all, download the Framaroot apk file from a trusted source.
- Install the application and launch it.
- On the main screen, you will see a drop-down menu where you need to specify the application for managing root-rights. We knock it out (we have it SuperSU).
There are many so-called "one-click" programs for obtaining ROOT rights to Android. These exploits are easy to use: just install the utility on your PC or the application on your smartphone, if necessary, just make a couple of clicks and you're done! But their main problem is that they cannot root 100% of devices. In this manual, we will talk about a method that is suitable for all smartphones and tablets on which you can install custom recovery: CWM, TWRP.
What are root rights and what are they for?
Although Android is the most customizable mobile operating system, out of the box access to the root directory and editing of system files is denied on any device - they are mounted in read-only mode. Having root (Superuser account), it becomes available to write to system partition... The user can customize the system as much as possible for himself:, bypass the restrictions of Google Play, and much more.
In the process of rooting, the SuperSU root administrator application is installed on a smartphone or tablet, a binary SU file that is written along the way / system / xbin / and a set of console utilities BusyBox.
How to get root rights to Android via CWM
1. After, download the SuperSU archive from the official website and save it in a convenient place on the memory card.

2. - how this is done can be found in the instructions on the link.
3. In CWM, select "install zip" (the choice is done with the power button) or "install zip from sdcard" (for older CWM versions below 6.X.X).

4. Then "choose zip from / sdcard" if the archive to be flashed is on the SD card.

5. Go to the folder where you saved "SuperSU- version.zip ”and confirm with the power key.

6. Agree to the installation, select “Yes - Install SuperSU- version.zip ".

7. The process of rooting the mobile device will begin.

8. At the end you will see the message "Install from sd card complete", which in our case means getting root rights.

9. Return to the main CWM menu.

10. Click "reboot system now" to reboot into Android.

How to install SuperSU via TWRP Recovery
Now a similar instruction for. First of all, follow the first two points from the above FAQ for flashing the SuperSU archive from CWM.
1. Then select “Install” from the TWRP main menu.

2. Find the SuperSU ZIP file downloaded to SD.
3. Make a swipe, thereby agreeing to the firmware.

4. Successful! Root rights are obtained, select "Reboot System" to boot the system.

How to check for SuperUser in Android
Now the Superuser rights manager should appear in the menu - the SuperSU application. And you can check for root rights using a simple Root Checker program.
(superuser privileges).
This is done even if the device is under the warranty service term, which will void the warranty.
To manage extended permissions, the application is usually used SuperSu, but sometimes it crashes, giving the error "SU file is busy".
Let's look at how to resolve the error and get rid of this warning in order to grant extended permissions to the required programs.
Content:
A bit of theory
The SU binary itself grants those extended permissions, giving the user the ability to perform any operation on his device, up to modifying the majority.
Without this file system object, you will not have root rights.
Even when the SU is not updated, SuperSU will provide the necessary privileges in most cases, but constant warnings and the possible presence of errors and gaps in the outdated SU can turn out to be a problem.
SuperSU and similar programs allow you to control the received capabilities, allowing other applications to work under the super administrator or prohibiting them.
So, let's figure out what to do when SuperSU or similar system applications offer to update.
The instructions are relevant for situations where a message appears with other problems regardingSU: busy or absent (not set).
The easiest way
For many users, on many devices, the problem is solved very simply, and no knowledge or additional software is required.
The method consists in removing the current version of SuperSU and installing its previous version.
It is not known how the device will behave with the previous release of the application, because the program is periodically updated, but it was noticed that the transition to SuperSU v2.79 solves the problem.

You can get an old release of the utility by finding the archive of its versions on some forum or portal, for example.
The second way
There are several ways to solve the problem. Let's start with the simplest things for a beginner.
It consists in using the Chinese (no need to be afraid) utility, through which many get those cherished extended powers to fully control their own.
This is the Baidu Root program.
It is absent in the store, since it is a cracker, and careless and inept handling of the functionality can lead to problems, for example, you will need to reflash the device.
- Download the utility from a trusted source. Since the official site is not working at the moment, it can be downloaded from the w3bsit3-dns.com forum as an apk file.
- We launch it, accept the operating conditions and give all the required privileges, having previously enabled the installation of applications from untrusted sources in the settings of your smartphone.

- Next interface- a window with the model name of the device used and one more button ("Get Root"). We click on it, which will give superuser privileges, thereby updating the binary file, which is what we need.

- After the smartphone will reboot, Baidu Root will be launched and will require SuperSU extended powers. We provide them.
- Farther you will be prompted to update the binary. The left button prohibits updating, the right one allows. Click on the last one ("Continue" in the Russian version).

- Further it is necessary tap on the "Normal" button in the window with a proposal to use custom recovery, if available.
Now errors with the SU file, whether it is busy, not updated or missing, will disappear.
Command line for advanced users
There is also a less simple way to solve the problem, which is better to resort if the previous ones did not allow you to get rid of the error, for example, Baidu Root could not get root on your device.
2 Download and install Root Browser (any file manager that supports root can play its role).
3 Download the zip and unzip its contents into the folder " updatersu»At the root of a removable flash drive or mobile device memory (it is recommended to stay with the second option).
4 Open the file manager Root Browser or its analogue and copy the objects.has_su_daemon, .installed_su_daemon and install-recovery.sh from "updatersu" to the directory "/ system / etc".

- .has_su_daemon- three check marks in the first column and the first in the second;
- .installed_su_daemon- mark the first checkboxes in columns one and two with flags;
- install-recovery.sh- check the boxes next to all the checkboxes in the first and third columns, as well as next to the "Owner" item in the second.

6 Go to "/ system / bin", add a new directory called ".ext" and install the following rights for him:
- the first items of the first and second columns;
- mark the third column completely.
7 Open "/ system / xbin" and copy our SU from there to a new folder that was created in the previous step "/system/bin/.ext".

8 Open the menu for renaming the document and add a period in front of its name, after which we set the privileges shown in the screenshot below for it.
9 Run the utility Terminal emulator.
10 In order, enter the following commands:
- mount -o rw, remount / system
- In –s /system/etc/install-recovery.sh /system/bin/install-recovery.sh
- / system / xbin / su -install

11 Now manually reboot the device, and after starting it, open SuperSU and try to update the SU file normally.
In this article, I will consider a very common among users Android bug that occurs when the program is launched to control superuser access SuperSu... This problem manifests itself as follows: when you try to enable or install the SuperSu application, you receive a notification with the text “ No binary fileSU andSuperSu" or " SuperSu binarySu not installed”.
As a rule, a collision with this occurs after obtaining root-rights - the binary file simply stops updating. Unfortunately, the information I found on the network seemed to me very scattered and chaotic and I could not install the Su binary using it, which is why I decided to somehow systematize attempts to solve this problem.

As a matter of fact, the Su file is a fundamental component of the aforementioned root rights, so after removing it, you lose SuperUser rights. Despite the fact that SuperSu does not exclude the possibility of working on old version, if you leave it, then sooner or later you will almost certainly have problems with performing operations. So let's install the Su binary properly anyway!
Method one - simple and straightforward
If the classic update attempt fails, then first install Recovery. After installing it, return to SuperSu, choosing there the su update method via CWM / TWRP. Perform a reboot, during which the system should update along with the problem file.

But if the described method did not help to install the Su binary file, or you could not find Recovery for your device, then the situation becomes already unpleasant, but far from fatal.
Method two - intricately roundabout
Here we will push the SuperSu update manually. First, download the Root Browser and Android Terminal, as well as the archive with the updatesu.zip files, which, after unzipping, are sent to the updatersu folder.
Now we launch the Root Browser application, and from the updatersu folder we transfer the files .has_su_daemon and .installed_su_daemon and install-recovery.sh to the / system / etc folder.
Further - the main thing: we must set the rights for these files. Since I am the proud owner of an English Android version, then my instruction will be in English, but I believe that it is easy to correlate with Russian.
So for the file .has_su_daemon: put three checkboxes in the vertical column Read (opposite Owner, Group and Others horizontally) and one in the vertical column Write (opposite Owner).
For file .installed_su_daemon: one in Read (opposite to Owner) and one in Write (opposite, again, Owner).

For file install-recovery.sh: all three in Read and Execute (opposite Owner, Group and Others) and one in Write (opposite Owner).
Having done this, go to the / system / bin folder, where we create a new folder.ext. Then we set the rights for it: we put a check mark in the Read column opposite Owner, in the Write column opposite Owner, in the Execute column opposite all three.
Then we copy the su file from the / system / xbin folder to the newly created folder (/system/bin/.ext), at the same time renaming su to .su.
Set the rights again, now for the .su file: checkboxes for all three in the Read column, opposite Owner in the Write column, all three in the Execute column.
You can catch your breath a little: almost everything has been done, but the last leap remains. Run Android program Terminal and type in the following commands:
- mount -o rw, remount / system
- ln -s /system/etc/install-recovery.sh /system/bin/install-recovery.sh
- / system / xbin / su -install
Now reboot and try to update the su file again by clicking "Normal" in SuperSu. After all these steps, I was able to install the Su binary.
I hope I have succeeded in presenting the solution to the problem “SuperSu does not have a binary file in the system” in a consistent and structured manner. If everything is done according to the instructions, then it should almost certainly work.
Write questions and your solutions in the comments, we will help each other together!
In contact with
The SU binary needs to be updated. Update? Can't update the SU file? The site is in a hurry to help you in solving this problem!
Background….
Very often recently, many users have a problem that appears after getting Root right - this is not updating the su binary file, a bunch of questions on the Internet and almost 0 solutions, it's time to fix it!
The material is not for beginners! Only for those who already know Android sections quite well, how to hide files in Android, knows about access rights in Android!
Theory
Although in fact, all applications will work fine and without a forced Root update, so you can just relax and not pay attention.
SuperSu enables applications to use Root rights even if the su binary is not updated!
Ways to solve SuperSU fails
Ideally, the SuperSu application when prompted for “SU binary needs to be updated. Update? " press the button " fine“Then everything is great to update. If not:
Method 1
If su update fails, install recovery (if not installed) - K How to install Recovery... After installing Recovery, go to SuperSu again and select the su update method via "CWM / TWRP", after which Android will reboot and the update will occur and the smartphone or tablet will boot again! The su binary is now updated!
If you haven't found Recovery for your device, then it will take a little bit of a difficult path ...
Method 2
[This material assumes that you already know the Android file structure.] and work with the command line.
This method will help push the update ...
- Download Root Browser and Android Terminal App
- Download the archive with the updatesu.zip files
1. Unzip the updatesu.zip archive and move the updatersu folder to internal memory Android or to a memory card.
2. Launch the Root Browser application and go to the updatersu folder and copy the files - .has_su_daemon and. installed_su_daemon and install-recovery.sh to folder:
/ system / etc

3. Now you need to set the correct rights for these files 
For file .has_su_daemon

For the file. installed_su_daemon 
For file install-recovery.sh 
Now go to the folder:
/ system / bin
4. Create folder.ext (point ext)
 5. Set the rights for the folder
 6. Copy the file su from folder
/ system / xbin
to the folder you just created (/system/bin/.ext)
7. Rename the file su on .su(point su)
8. Set the rights for the file .su 
9. Run Android app Terminal
10. Type the following commands
mount -o rw, remount / system
ln -s /system/etc/install-recovery.sh /system/bin/install-recovery.sh
/ system / xbin / su --install
11. Restart Android and now try updating the binary again su way "Fine" to the SuperSu app.